
Here is a Foundation Data Model (FDM) Translator step by step guide to capturing your department's budget-to-cost center hierarchy.
- In the BI Portal homepage, search 'FIN Org to FDM Translator' (UW NetID log in required) and select the 'Run dashboard' button. You will see the entire University of Washington’s Budget-to-Cost Center Data crosswalk.
- In the Filter by FAS Terms' 'Org Dean Level' filter dropdown menu, uncheck All box, and check only '254, COLL ARTS & SCIENCES.' Select 'Apply'.
- To find your specific department, use the filter 'Org Dept Level'. Uncheck the 'All' box, then select your department and click 'Apply'. In this example we are using '2540785, LAW SOC&JUSTICE PROG'.
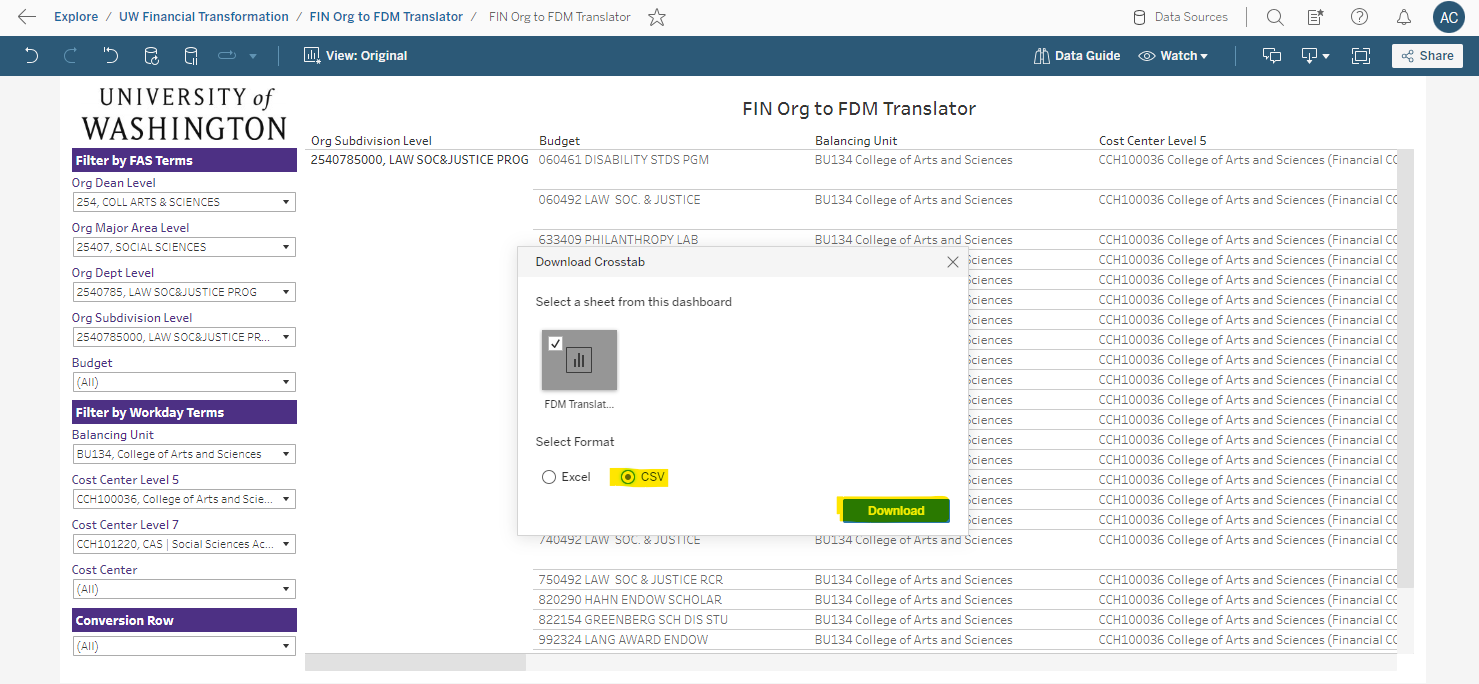
- Next, to download this report, click the 'download' symbol at the upper right side of the webpage (on the top menu ribbon) and select ‘Crosstab’ option from the dropdown.
- Select 'CSV' control button, click 'Download'. Once the file is downloaded, it is ready to open. It should open in Excel and is ready to save and rename.
- Pro Tip: Save this copy for your use but pull down a fresh copy weekly to ensure you are looking at current data.
- Right away, you can see the translation from current-state Budget to Cost Centers Level 5 and 7; required Cost Center, Fund, and Function Worktags, and relevant Resource, Gift, Grant, Stand-Alone, and Program worktags, specific to current-state Budget.
- Excel Tip: Select the Select All button
 at the top of the worksheet, to select all columns and rows. Then double-click any boundary (|) and all columns or rows will be resized to fit the data.
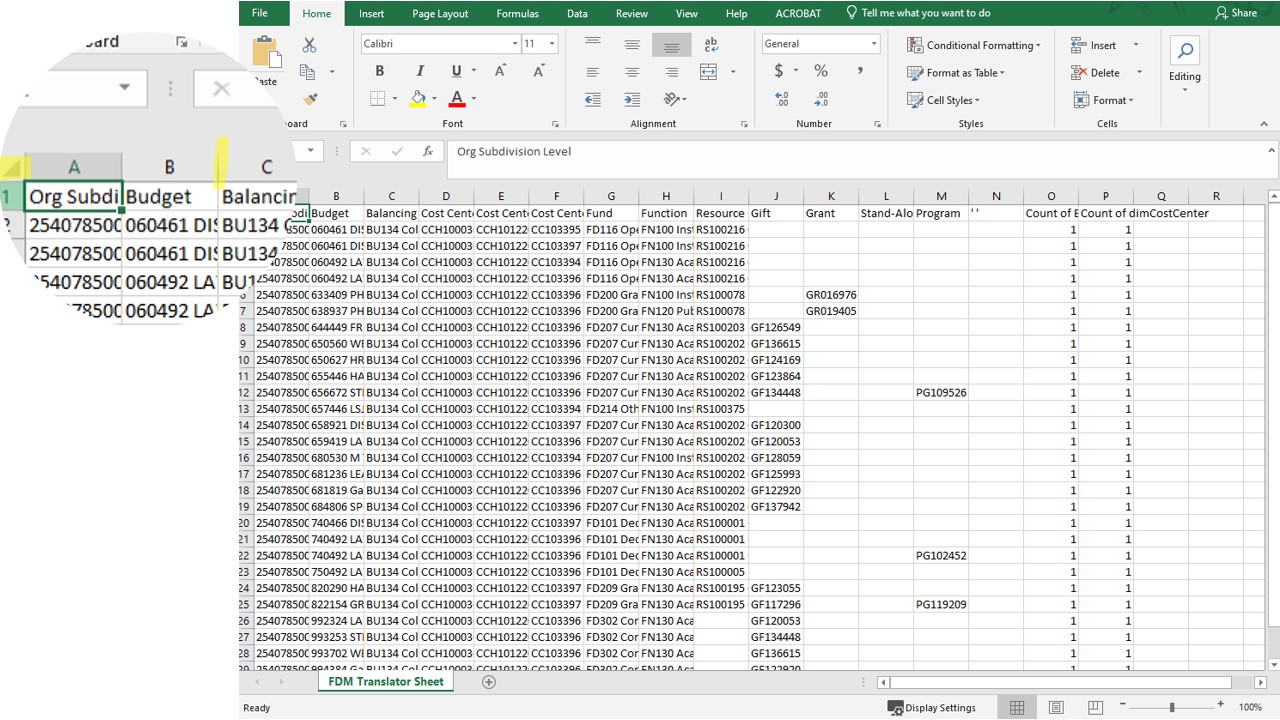
- Excel Tip: Select the Select All button


Last Updated: Tuesday, December 24, 2024